DIY Wedding Decorations
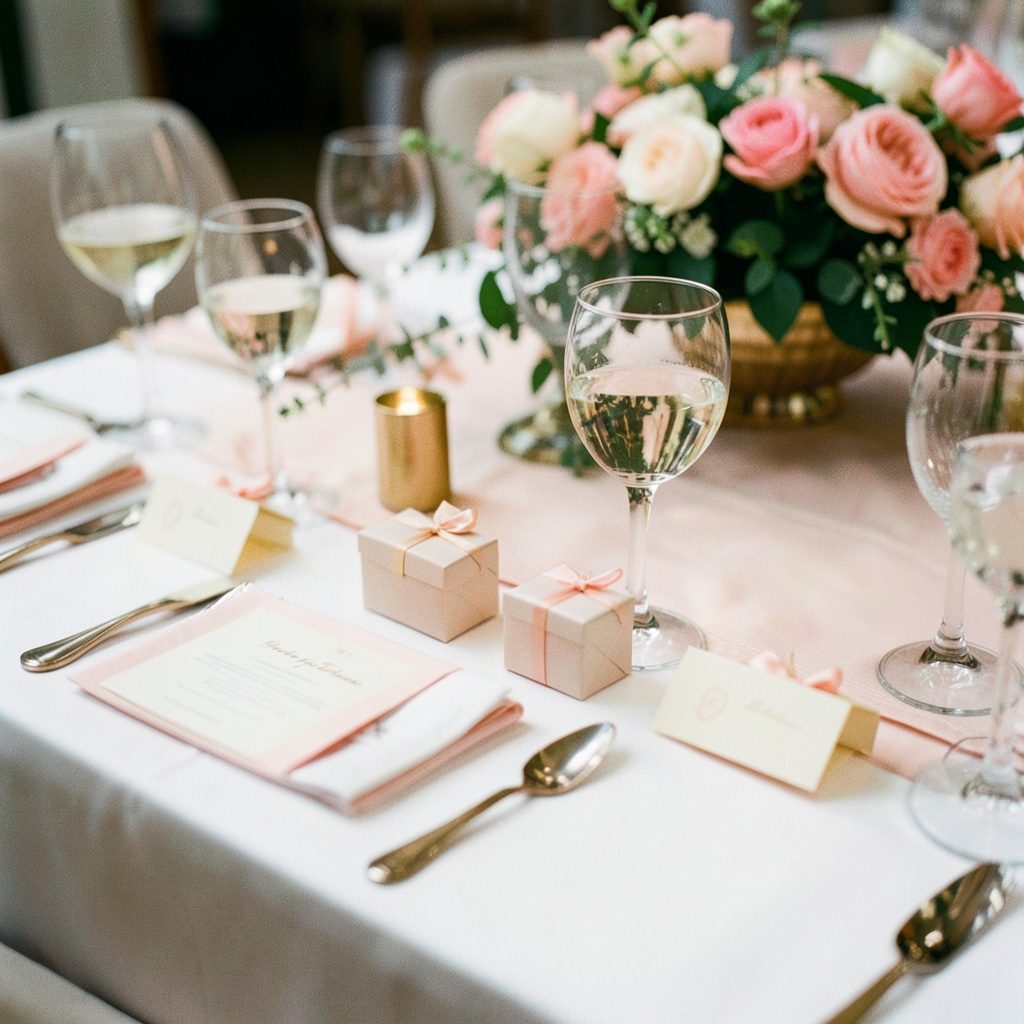
Creating your own wedding décor can be both rewarding and budget-friendly. From centerpieces crafted with seasonal flowers to hand-painted table numbers and fabric bunting, DIY decorations let you infuse your personality into every corner of the venue. Many brides find that tackling a few key projects — rather than everything at once — keeps the process enjoyable without becoming overwhelming.
Popular DIY décor projects include mason-jar candle holders, ribbon-wrapped chair accents, and personalized signage. Enlist your bridal party for a craft night — it turns prep work into a shared memory.
Handmade Invitations
Handmade invitations set the tone before guests even arrive. With quality cardstock, a reliable printer, and a few embellishments like ribbon or wax seals, you can produce elegant stationery at a fraction of the cost of custom printing. Keep designs simple: a clean layout with thoughtful typography often looks more polished than an overstuffed design.
Consider assembly-line techniques — print all pieces first, then trim, then assemble — to keep the project manageable. Budget extra time for addressing envelopes by hand or with a calligraphy pen for a personal flourish.
Self-Made Bridal Accessories
Brides with a crafty streak can create their own veils, hairpieces, sashes, and jewelry. A simple fingertip veil requires only tulle, a comb, and basic stitching. Beaded hairpins and floral crowns are approachable projects even for beginners, and they add a one-of-a-kind touch that complements any gown.
When making accessories, start early and practice on inexpensive materials before committing to your final pieces. The result is something truly personal — and often far less expensive than boutique alternatives.
Tips for DIY Success
- Start early. Give yourself at least three to four months for projects that require trial and error.
- Set a realistic scope. Choose two or three meaningful DIY elements rather than attempting to handcraft everything.
- Test materials first. Buy small quantities to experiment before purchasing in bulk.
- Ask for help. Friends and family are often eager to pitch in — turn it into a social event.
- Document the process. Photos of your DIY journey make wonderful keepsakes and blog-worthy stories.